Ubuntu 16.04 LTS is a fine OS (now would recommend 18.04). Here is a guide for installing it from scratch and customizing it well.
Steps
- Back up files
- Make sure back ups work
- Make boot disk with correct OS image
- Boot from disk
- Install OS
- Configure OS
- Install software
1. Back up files
My important files are stored on remote servers and backed up on local external drives to avoid lossing anything. I use Ubuntu's deja-dup automatic backup service in between external drive back ups as well.
2. Make sure back ups work
It may seem obvious but its worthwhile to actually test that your most important files actually are backed up and didn't get corrupted or become otherwise inaccessible. I tend to just make important directories are the same size and try openning a few random files, or a few particular very important ones.
3. Make boot disk with correct OS image
Choosing the correct OS image comes down to if you have a PC or a server and what processor you have. I need the AMD64 Ubuntu 16.04 disk image (.iso file). You can get the official releases from Ubuntu here.
Once you have the OS disk image downloaded get a blank or RW CD/DVD and burn the image onto it. You can use a standard Ubuntu disk burning program like Brasero. If you don't have Brasero you can always install it using Bash with the command:
sudo apt install brasero
A noteable problem I had with Brasero was that it halted while creating the disk checksum at the end of writing. This is a somewhat common issue and can be solved by going into the Brasero preferences and turning the disk checksum plug-ins off. Having a checksum is for validating that the OS image is from a trust worthy source. If you are downloading it directly from the distributor and installing it immediately then you can likely get by without the checksum.
4. Boot from disk
Reboot the computer and enter the system BIOS. This is something that the manufacturer of the computer sets so you need to look up how to do that with your computer. Usually its by tapping or holding the function keys at boot. Find the boot order and put CD disk first (before booting from the hard drive). Once CD has priority in the boot order just let your computer boot up normally.
5. Install OS
The CD may take a while to be read but will prompt you to choose either a live demo of the OS or fully install the OS on the computer. Choosing to fully install it then prompts you to allow the install to wipe your hard drive and current OS. I chose to wipe everything because it's easier though if you have a partition on your hard drive ready for it you could install it there for testing.
You can also choose to encrypt your hard drive with a password. You do have to enter this password each time you boot up your computer however so think carefully about using it. Follow the installation guide to configure users, passwords, and whatnot and you should have your new OS up and running soon.
6. Configure OS
Connect to your network now if you can because now is a good time to update your system:
sudo apt-get update
sudo apt-get upgrade
sudo apt autoremove
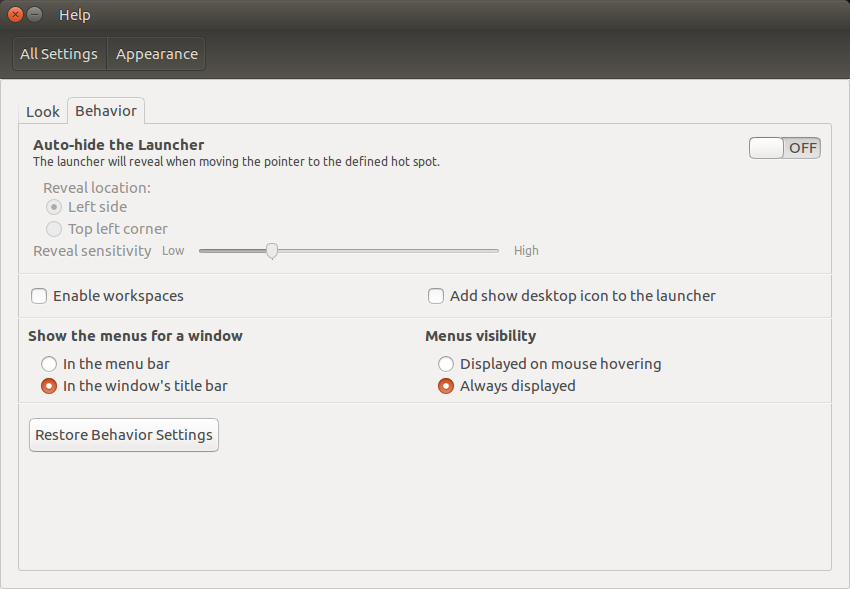
I really like having the window options always visible and in the window, not the menu bar so go to Settings -> Appearance -> Behavior.
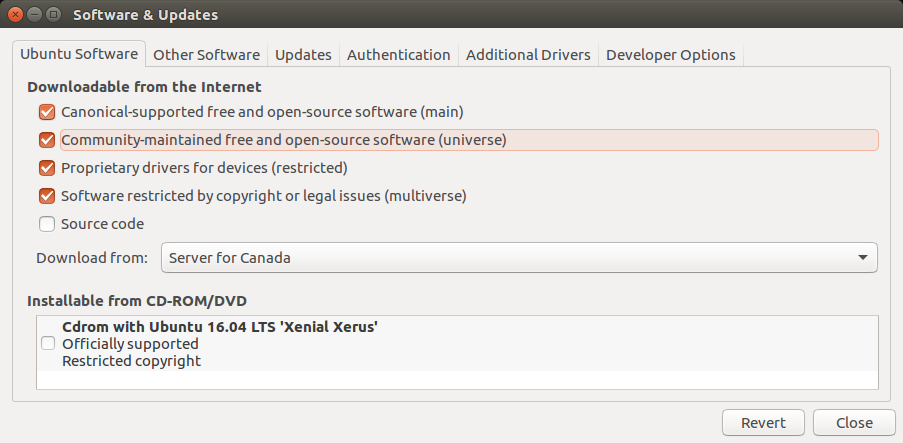
Next install the Canonical, community, and restricted software for Ubuntu. Go to Settings -> Software & Updates -> Ubuntu Software
Now intall the Ubuntu Restricted Extras:
sudo apt install ubuntu-restricted-extras
Configure the settings how you see fit. Also, you can now however move the taskbar from the side of the screen to the bottom using the Unity Tweak Tool or if you don't want to download the tweak tool, with this code:
gsettings set com.canonical.Unity.Launcher launcher-position Bottom
Another nice customization is one-click minimize/maximize from your launcher.
gsettings set org.compiz.unityshell:/org/compiz/profiles/unity/plugins/unityshell/ launcher-minimize-window true
I added a command to turn of my touchpad because I never use it to /etc/rc.local
synclient TouchpadOff=1
Now to fix the login screen background. No need to install anything, open dconf-editor, deal with the LightDM user or anything terribly complicated. This is done from the file /usr/share/glib-2.0/schemas/com.canonical.unity-greeter.gschema.xml.
sudo vim /usr/share/glib-2.0/schemas/com.canonical.unity-greeter.gschema.xml
add xml lines: and recompile schemas:
sudo glib-compile-schemas /usr/share/glib-2.0/schemas/
7. Install and configure software packages
These are my frequently used packages and by no means exhaustive. You can use the new Ubuntu Software application or the interwebs to explore the vast ecosystem of available packages.
Install build-tools and essential libraries
sudo apt-get install -y build-essential libssl-dev default-jdk curl vim git vlc
shutter gimp chromium-browser
Setup Git
Setup instructions here.
Install i3wm
Instructions here. Configuration from ~/.i3 (see DotFiles). To solve issues with nautilus desktop window (if present):
gsettings set org.gnome.desktop.background show-desktop-icons false
Install vifm
vifm is a vim-like file manager, lightweight and has great key bindings for navigating, launching .pdf etc., and moving files around. Configuration from ~/.vifm (see DotFiles).
sudo apt-get install vifm
DotFiles
Clone DotFiles repo and move .config files to user directory:
git clone https://github.com/TStesco/DotFiles.git
mv DotFiles/* ~/
Install Sublime Text 3
Follow package manager instructions here. Add the package installer.
Install Anaconda
Get the latest installer version for your computer and version of Python here
bash "nameOfFile".sh
Install Docker
The community edition is freely available here for all major OS: https://www.docker.com/community-edition
Install nvm
Node volume manager for node.js and npm. Use install script in the master repo: https://github.com/creationix/nvm
Install Wine
sudo add-apt-repository ppa:ubuntu-wine/ppa
sudo apt-get update
sudo apt-get install -y wine1.7
Additional software packages seldom used: wireshark, nginx, arduino IDE